I went by the Sailboat Shop the other day, Randy had told me that he and Chuck were going to put together his new Hobie Getaway and I wanted to see how it was done. I took some pictures when I wasn't helping, and some videos. Hobie provides a video on assembling the Hobie, and this is not meant to replace that, I just wanted to give you an idea of how it goes. You need the Flash plugin to see the videos, click the play button to start the ones you want to see.
Chuck had the cardboard unwrapped and the hulls laying on their side when I arrived. The cardboard felt good later when we were lying under the boat. Chuck unrolls the tramps, which are already in the tracks on the center rail.
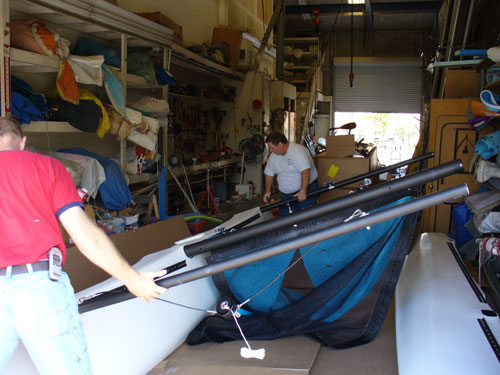
Stabbing the center rail into the starboard hull is just a matter of slipping it in. Randy inserts the rear rail, which also just slips in. No screws or bolts are needed for these.
The front rail requires two bolts, which we tested first to make sure the threads were ok. Chuck was very good at checking the bolts ahead of time, making sure the threads were all good (which they were) and that they would go through the holes (which they did almost all the time). Randy slipped the front rail in, and they rolled the hull over and slid the other hull on the rails.
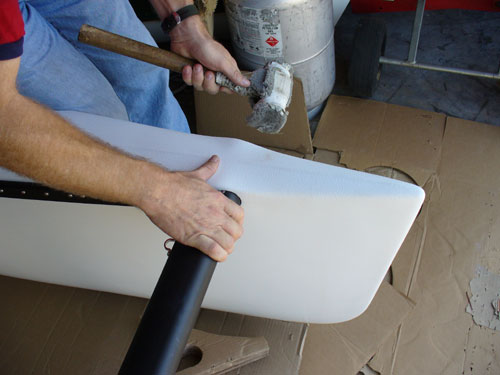
It went together easily, with just a few taps from a well padded hammer. I was impressed over and over with the high quality and ease of assembly. In every case but one all of the parts fit (more on this later).
With a little locktite we put the two bolts in that hold the hulls to the front rail. Chuck was sure to put locktite on all the bolts. At this point they are all that hold the boat together.
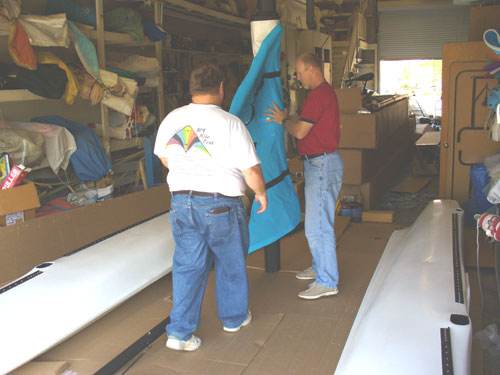
Next we threaded the two tramp pieces into the hulls. The tramp is the main thing holding the boat together, I thought it a very ingenious design throughout. Over and over I saw improvements over the original Hobie 16.
Chuck holds the two rods used to tie the tramps to the rear and front rails. They slip into a pocket in the edge of the tramps and then are laced to the rails.
Starting from the outside, they lace the tramp tightly to the stern rail, then start on the outside of the other side for the other half of the tramp.
While they were lacing the rear tramp, I threaded the front one into the hulls.
Chuck finds it easier to tighten the center laces of the tramp from underneath the boat, using only two pliers, one locking. As you can see in the latter part of the video, he braces his foot on one of the hulls to get plenty of leverage. This is where the cardboard on the floor really felt good. Click the play button to see Chuck tighten the tramp laces. After this the hulls are securely tied together, but the front tramp will also add stiffness when tightened, see next page.
The videos were taken with the Panasonic Lumix DMC-LZ2. A $200 camera designed mainly for still photography, it will take a 30 minute video with sound if you have the 1 Gig memory card.